Your First Proxmox VM Can Wait: Get DNS, DHCP, Console Access, and Storage Right First
Most first-time Proxmox pain has nothing to do with VMs. It is a host that cannot resolve names, an IP that moves on the next reboot, no way back in when the web UI is down, and VM disks dumped on the wrong storage. Fix those four layers before you create a single VM.
The Proxmox install finishes, you log into the web UI, and the obvious next move is to create a VM. Resist it for fifteen minutes. The failures new Proxmox users hit are almost never in the VM — they are one layer down, in the host's networking, name resolution, recovery access, and storage layout. Get those right while the node is empty and cheap to change, and your first VM is boring. Skip them and you will be rebuilding from scratch after the first reboot moves your IP or the web UI locks you out.
This is a preflight for a brand-new single node. If you are already running bonded links and a backup server and chasing path-specific reliability problems, the Proxmox network-path and recovery checklist is the operator-grade version. This guide is the layer before that.
Fix Host DNS and Time Before Anything Else
A Proxmox node that cannot resolve hostnames will fail in confusing ways: apt update hangs, no-subscription repos error out, and cluster joins time out. Confirm the host can actually reach DNS and that its own FQDN resolves:
cat /etc/resolv.conf          # is there a reachable nameserver?
hostname --fqdn               # should print pve.yourdomain.lan, not an error
getent hosts $(hostname)      # the node must resolve its own name
ping -c1 deb.debian.org       # name resolution + egress in one shot
The node's name and IP must be consistent across /etc/hosts and /etc/hostname. Proxmox writes the node identity into its cluster config from this, and a mismatch is painful to fix later.
Time matters just as much. Skewed clocks break TLS, certificate validation, and any future cluster quorum. Confirm NTP is actually syncing:
timedatectl                   # want: System clock synchronized: yes
chronyc tracking 2>/dev/null  # if chrony is installed
Give the Node a Stable Address
The single most common first-week regret is a management IP that came from DHCP and then moved. Your bookmarked https://192.168.1.50:8006 stops working, the node's cluster identity gets confused, and backups pointed at the old address fail silently.
Pick one of two clean options and commit to it:
- Static IP on the host — set it directly in
/etc/network/interfacesonvmbr0. This is the most predictable for a server. - DHCP reservation — bind the NIC's MAC to a fixed address in your router so the node always gets the same IP. Fine, as long as the reservation is real and not just a current lease.
ip -br a                      # current addresses per interface
cat /etc/network/interfaces   # confirm vmbr0 has the address you expect
Whatever you choose, write down the management IP, the gateway, and the VLAN if you use one. A moving management plane undermines everything built on top of it.
Make Sure You Can Get Back In Before You Need To
The question that separates a minor hiccup from a 2am drive to the basement: if the web UI is unreachable, how do I administer this box? Answer it now, while everything works.
- Web console (noVNC/xterm.js): confirm it actually opens from the Proxmox UI — some browsers and reverse proxies block the websocket.
- SSH: verify key-based root SSH works from your normal workstation.
- Out-of-band: if the hardware has IPMI/iDRAC/iLO, log into it once and save the address and credentials. No BMC? A PiKVM or even a cheap HDMI-over-IP gives you console access when the OS is wedged.
- Rescue boot: know that you can boot the Proxmox ISO in Rescue/Debug mode or via GRUB to repair a host that will not start.
# From your workstation, prove you can reach the node two independent ways
ssh root@PVE_IP 'pveversion'
curl -k -sI https://PVE_IP:8006 | head -1
If the only way you can manage the node is the web UI, you have a single point of failure for administration itself.
Lay Out Storage on Purpose
Proxmox's default storage names confuse newcomers, and the confusion shows up as "no space" errors or VMs dumped on the tiny root volume. Know what each one is for:
local(directory): holds ISO images, container templates, and backups. Upload your install ISOs here.local-lvm(LVM-thin): holds VM disk images and container root filesystems. This is where guests actually live.- ZFS / dedicated pool: if you installed on ZFS or added disks, decide explicitly where VM disks go rather than letting everything pile onto the root disk.
Two gotchas to plan around: LVM-thin over-provisions, so the sum of your VM disks can exceed the pool — and when the thin pool fills, guests get read-only or corrupt. And do not let backups accumulate on local until they crowd out the OS. Set a sane retention.
pvesm status                  # every storage, its type, and free space
vgs ; lvs                     # confirm the thin pool size and usage
The Five-Line Pre-First-VM Checklist
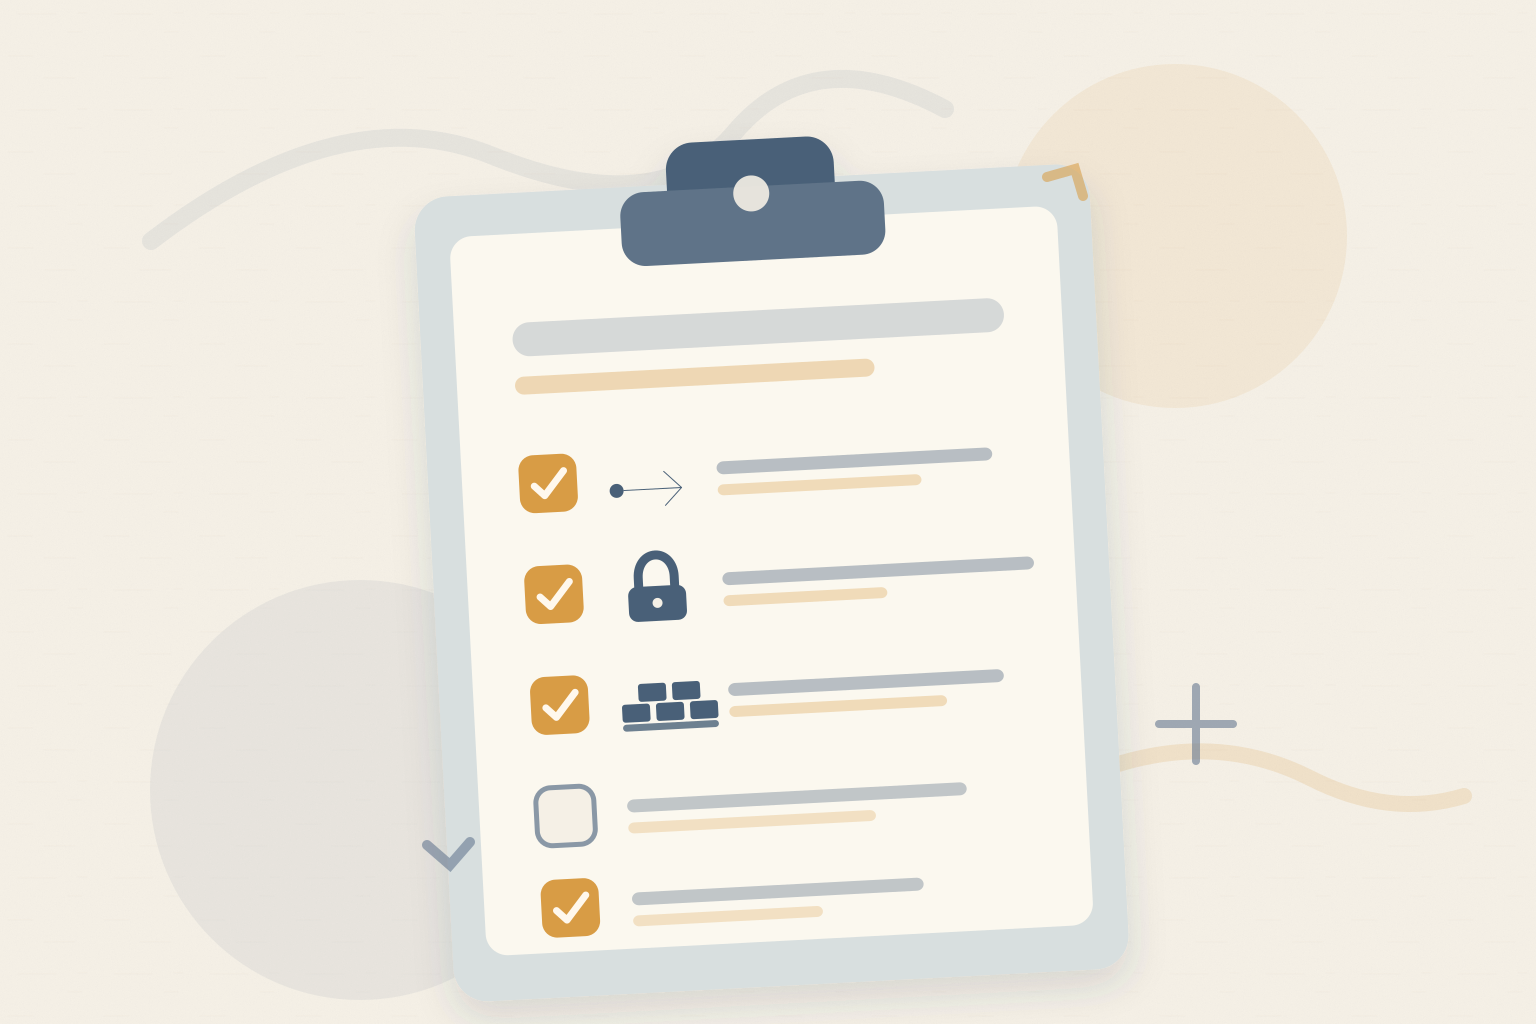
Before you click Create VM, all five of these should be true:
- The host resolves names and its own FQDN, and the clock is synced.
- The management IP is static or reserved and written down.
- You can reach the node by SSH and console, plus a known rescue path.
- ISOs live on
local; you know which storage VM disks will use and that it has room. - You have confirmed there is a backup target (even a directory) before guests hold real data — see the full-host disaster-recovery plan.
None of this is glamorous, and that is the point. The fifteen minutes you spend on DNS, addressing, recovery access, and storage layout is what lets your first VM — and the twenty after it — be uneventful. When you are ready to decide what to run on the box, the first-Proxmox-server planning guide covers bundling media, photos, and backups without overloading a single node.
From across the StoicSoft network
Hand-curated reads on the same topic from sister sites in the StoicSoft family.
 Deploy Handbook8 min read
Proxmox panels vs lightweight deploy tools — which one do you actually need?
Homelab and VPS users keep conflating infrastructure management with application deployment. Here's how to tell whether you need a full Proxmox-style panel or just a deploy layer with monitoring.
Read on stoicvps.com/handbook Deploy Handbook8 min read
Small self-hosters need a migration preflight before Vercel, colo, or VPS changes become scary
Fresh Reddit threads show two versions of the same deployment anxiety. A freelancer with a simple React/D3 portfolio and Vercel-managed domain wants to leave Vercel but is unsure how risky the provider and domain move will be. A self-hoster with a colocated…
Read on stoicvps.com/handbook