Proxmox operators need network-path and out-of-band recovery checks before backups or VMs fail at the worst moment
Running Proxmox with multiple bridges and bonded links creates subtle reliability gaps that only surface when a backup fails or a host refuses to boot. A short preflight checklist — covering PBS traffic paths, LACP validation, and out-of-band recovery — can prevent the scramble of moving a monitor and keyboard to a dead node at 2 AM.

Running Proxmox in a home lab or small production environment is not complicated — until it is. Three recurring failure patterns show up again and again in operator communities: backup traffic quietly using the wrong network bridge, bonded 10GbE links that are mysteriously capped at single-link speeds, and a host that refuses to boot with no remote way in. None of these are exotic edge cases. All of them are preventable with a short preflight check before you rely on the setup.
Making Sure PBS Traffic Uses the Right Bridge
A common Proxmox node layout has separate bridges for management, VM traffic, and backup storage. The intent is traffic isolation — you do not want backup jobs saturating the same pipe that VMs use to talk to each other. The problem is that Proxmox Backup Server does not automatically route its traffic through the bridge you designated for backups. It follows the host routing table, which may point straight out of the management interface.
To verify where PBS traffic actually lands, run a backup job while watching interface counters:
watch -n 1 'cat /proc/net/dev | grep -E "vmbr|bond|eth|enp"'
If you see bytes accumulating on vmbr0 (your management bridge) instead of vmbr2 (your intended backup bridge), your routing table is not set up correctly. Fix it by adding a static route on the host that sends traffic destined for your PBS server's subnet through the correct gateway:
ip route add 192.168.20.0/24 via 192.168.20.1 dev vmbr2
Make the route persistent by adding it to /etc/network/interfaces under the backup bridge stanza using a post-up directive. Without this, every reboot silently reverts to the wrong path and your "isolated backup network" is an illusion.
Also confirm the PBS datastore address resolves to an IP on the backup subnet — not a hostname that might resolve to a management IP. A simple traceroute <pbs-host> from the Proxmox node before the first backup job saves a lot of confusion later.
Validating Bonded 10GbE Links with LACP
Dual 10GbE links bonded with LACP (802.3ad) should deliver up to 20 Gbps of aggregate bandwidth. In practice, a single TCP flow is still pinned to one physical link — that is how LACP hashing works. But if you are stuck at exactly 10 Gbps even across multiple simultaneous flows, the bond is probably not negotiating correctly.
Start at the switch. LACP requires the switch ports to have LACP enabled and be in the same port-channel group. If the switch is running static link aggregation (mode "on" rather than "active" or "passive"), the Linux bond may fall back to active-backup behavior without advertising it clearly.
On the Proxmox host:
cat /proc/net/bonding/bond0
Look for MII Status: up on both slave interfaces and confirm 802.3ad info shows a valid Actor Key and Partner Key. If one slave shows MII Status: down or the partner key is zero, the LACP negotiation failed and only one link is carrying traffic.
Also check the bond's xmit_hash_policy. The default layer2 hashing uses only MAC addresses, which tends to send all traffic between the same two hosts down a single link. Switching to layer3+4 uses IP and port, distributing flows more evenly:
bondmode=$(cat /sys/class/net/bond0/bonding/xmit_hash_policy)
echo $bondmode
If it reads layer2, update /etc/network/interfaces to add bond-xmit-hash-policy layer3+4 under the bond definition.
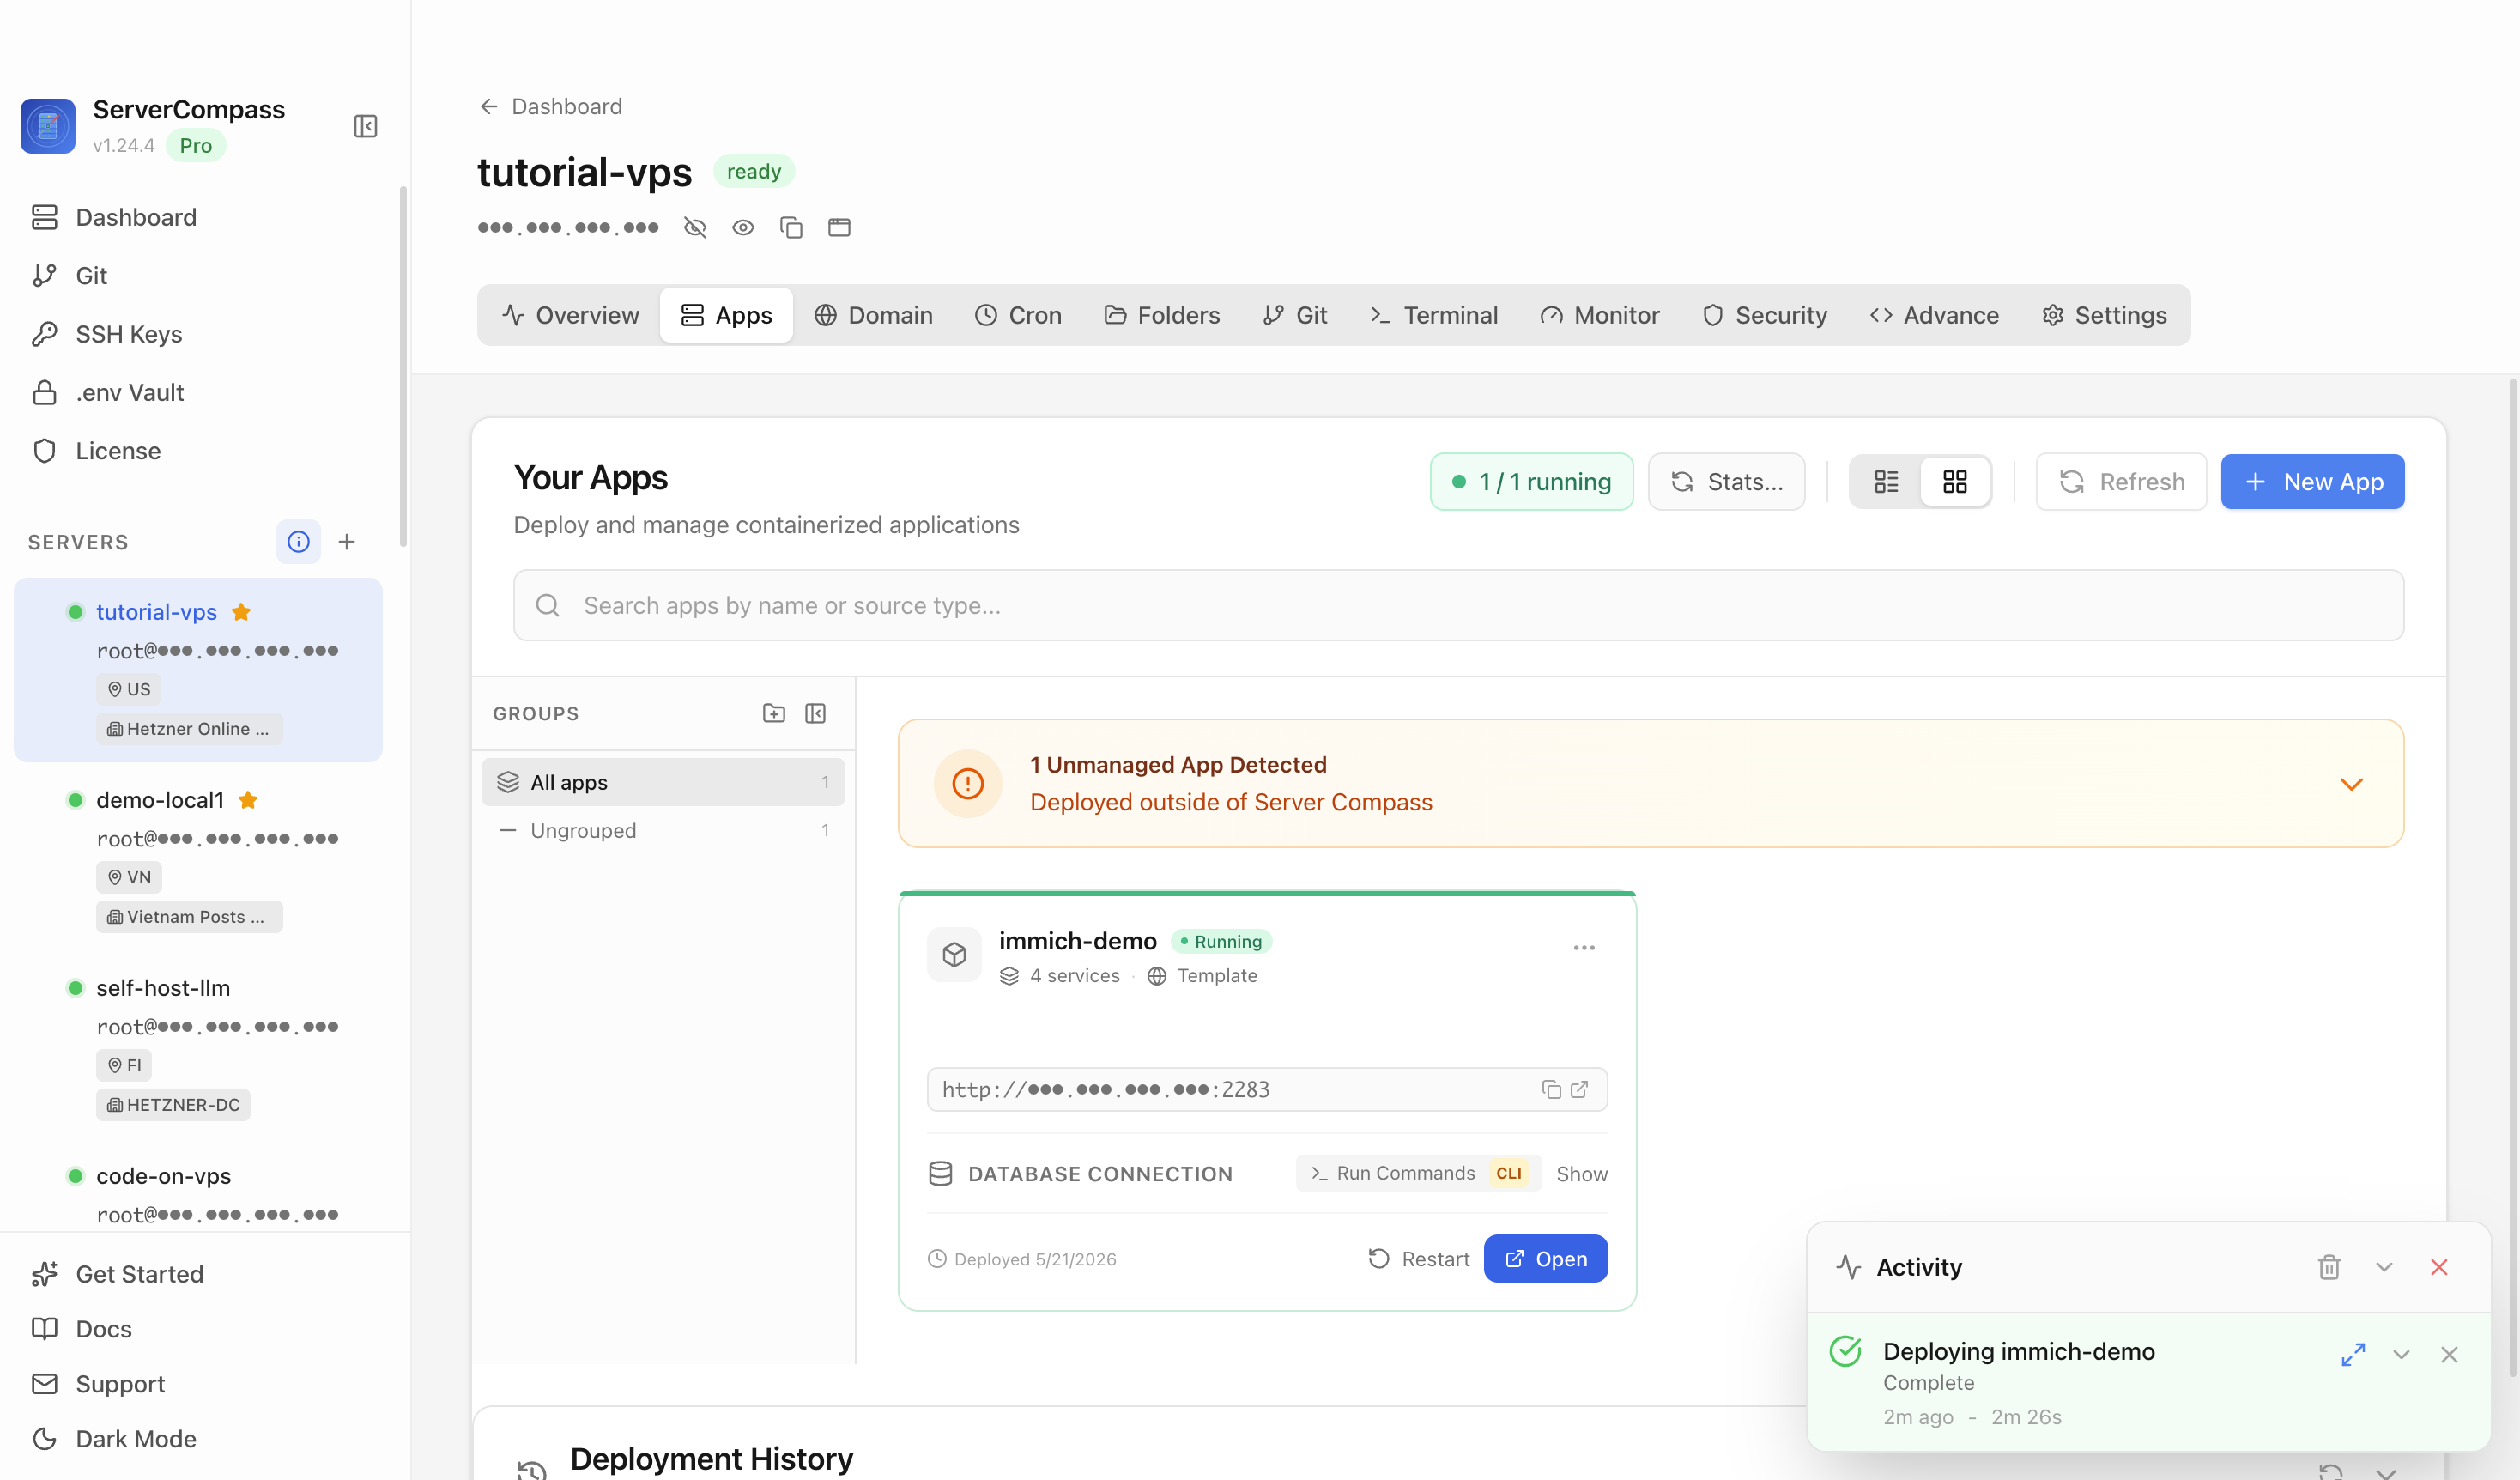
A tool like ServerCompass lets you see all your running services at a glance alongside real-time throughput per interface, which makes it easy to spot a bond that is only using one of its two legs without running ad hoc commands every time.
Building an Out-of-Band Recovery Path
A Proxmox host that refuses to boot is a different class of problem. If the only way to recover is to physically move a monitor and keyboard to the machine, you have no out-of-band access — and that gap is felt hardest at the worst possible moment.
For hardware that supports it, configure IPMI or iDRAC before you need it. Most server-grade motherboards and many prosumer boards (ASRock Rack, Supermicro) ship with a dedicated IPMI NIC. The setup takes about 15 minutes:
- Assign a static IP to the IPMI interface from the BIOS/BMC setup screen.
- Put the IPMI NIC on your management network (not the backup or VM bridge).
- Test the web console and virtual media from another machine before the host is in production.
- If your switch supports it, put the IPMI port on a dedicated VLAN so BMC traffic stays separate from everything else.
For consumer hardware without IPMI, a cheap KVM-over-IP device (PiKVM, JetKVM, or similar) attached to the HDMI and USB ports gives you remote keyboard and screen access. This is not as clean as a BMC, but it covers the core failure mode: a host that is stuck at a BIOS prompt or kernel panic screen.
If the host refuses to boot entirely, the next recovery step is usually a USB drive with a Proxmox rescue image or a live Debian environment. Keep one prepared and labelled, stored somewhere accessible near the hardware. Document which USB port to use — some boards are particular about which ports are read early in POST.
Pre-Deployment Preflight Habits
All three of these failure modes share a root cause: assumptions that were never verified. The bridge topology looked correct in the Proxmox web UI. The bond showed as "up" in ip link. The host had always booted before.
The fix is not more monitoring after the fact — it is a short verification pass before you trust the system with real workloads. Run a test backup job and confirm which interface carries the traffic. Generate enough cross-host traffic to see whether both bond legs are active. Trigger a BMC console session to confirm it works. These take under 30 minutes total and they surface the problems before a Saturday-night failure forces you to move hardware around in the dark.
Keeping notes on what you verified and when is also worth the effort. A plain text file or a wiki page per node — covering the bridge layout, bond mode, PBS storage address, and IPMI IP — means the next operator (or future you) does not have to reconstruct this from scratch.
Checklist
- Verify PBS backup traffic is actually using the intended backup bridge by watching interface counters during a live backup job
- Add a persistent static route on the Proxmox host so backup-subnet traffic goes through the correct gateway, not the management interface
- Confirm the PBS datastore hostname resolves to an IP on the backup subnet, not the management IP
- Check
/proc/net/bonding/bond0to confirm both LACP slave links are up and the partner key is non-zero - Set
bond-xmit-hash-policy layer3+4in/etc/network/interfacesto distribute multi-flow traffic across both links - Configure and test IPMI/BMC access before the host goes into production; verify the web console and virtual media from a separate machine
- For consumer hardware without IPMI, attach a KVM-over-IP device and confirm remote access before you need it
- Keep a bootable USB rescue drive prepared and stored near each host, and document which USB port the board reads during POST