A Pre-Drive-Swap Checklist for Home Servers: Know Your Boot Media and App-Data Before You Pull a Disk
Swapping a disk in a home server should be a ten-minute job. It turns into a weekend outage when you pull the wrong drive, lose an appdata volume, or break the array because you never mapped which disk does what. Here is the preflight to run before you touch the hardware.
Swapping a disk in a home server sounds trivial: shut down, pull the old drive, slot the new one, boot back up. For a lot of self-hosters it is trivial — right up until the box does not come back, Jellyfin has forgotten its entire library, or the array reports a disk as missing and refuses to mount. The drive swap was never the risky part. The risky part is that most home servers blur three very different storage roles together, and you cannot safely pull a disk until you know which role each one plays.
This is a preflight checklist for planned drive changes — upgrading capacity, replacing an aging disk, or migrating to an SSD. If your drive has already failed and you are in recovery mode, read the self-hosted recovery playbook instead; this guide is about not getting there in the first place.
Map Your Three Storage Roles First
Before you open the case, write down which physical device holds each of these:
- Boot media — the OS itself. On Unraid this is the USB flash drive. On Proxmox or bare Linux it is the disk holding
/and/boot. Lose it and the machine will not start, but your data is usually fine. - App-data — the small, fragile, high-value state: container configs, databases, Immich and Jellyfin metadata,
*.dbfiles. On Unraid this lives at/mnt/user/appdata; with Docker it is your named volumes. This is the part people forget to back up because it is small. - Bulk data — the media library, photos, downloads. Large, replaceable-ish, and usually what people think of as "my data."
A drive swap is dangerous when one physical disk quietly holds two of these roles. The classic trap is appdata sitting on the same disk you are about to pull to "just add more media space."
# See every disk, its size, mountpoint, and model in one view
lsblk -o NAME,SIZE,TYPE,MOUNTPOINT,MODEL,SERIAL

# Find what is actually mounted where
findmnt -t ext4,xfs,zfs,btrfs

# On Unraid, confirm the flash device and appdata share location
ls -la /boot        # the USB flash (Unraid OS)
du -sh /mnt/user/appdata/*
Match every serial number to a physical bay before you power down. A photo of the open case with drives labeled by serial is worth more than any spreadsheet at 11pm.
Confirm the Boot Media Is Healthy — and Backed Up
USB boot media wears out, and a forced power cycle during a swap is exactly the kind of event that corrupts it. On Unraid, take a flash backup from Main → Boot Device → Flash → Flash Backup (or copy the entire USB contents elsewhere). That backup is what lets you re-license and rebuild onto a fresh stick if the old one dies during the shuffle.
For an SSD or HDD boot disk, check SMART health before you rely on it surviving a reboot:
smartctl -H /dev/sdX
smartctl -A /dev/sdX | grep -Ei 'reallocated|pending|uncorrect'
If the boot device is the thing you are replacing, make sure you have a way to reinstall the OS and re-apply config — not just a vague memory of how you set it up the first time.
Back Up App-Data the Right Way (Not Just the Files)
Copying a running database directory gives you a backup that may not restore. Stop the services first so the on-disk state is consistent:
# Docker / Compose
docker compose stop
tar czf /mnt/backups/appdata-$(date +%F).tar.gz -C /mnt/user appdata
docker compose start
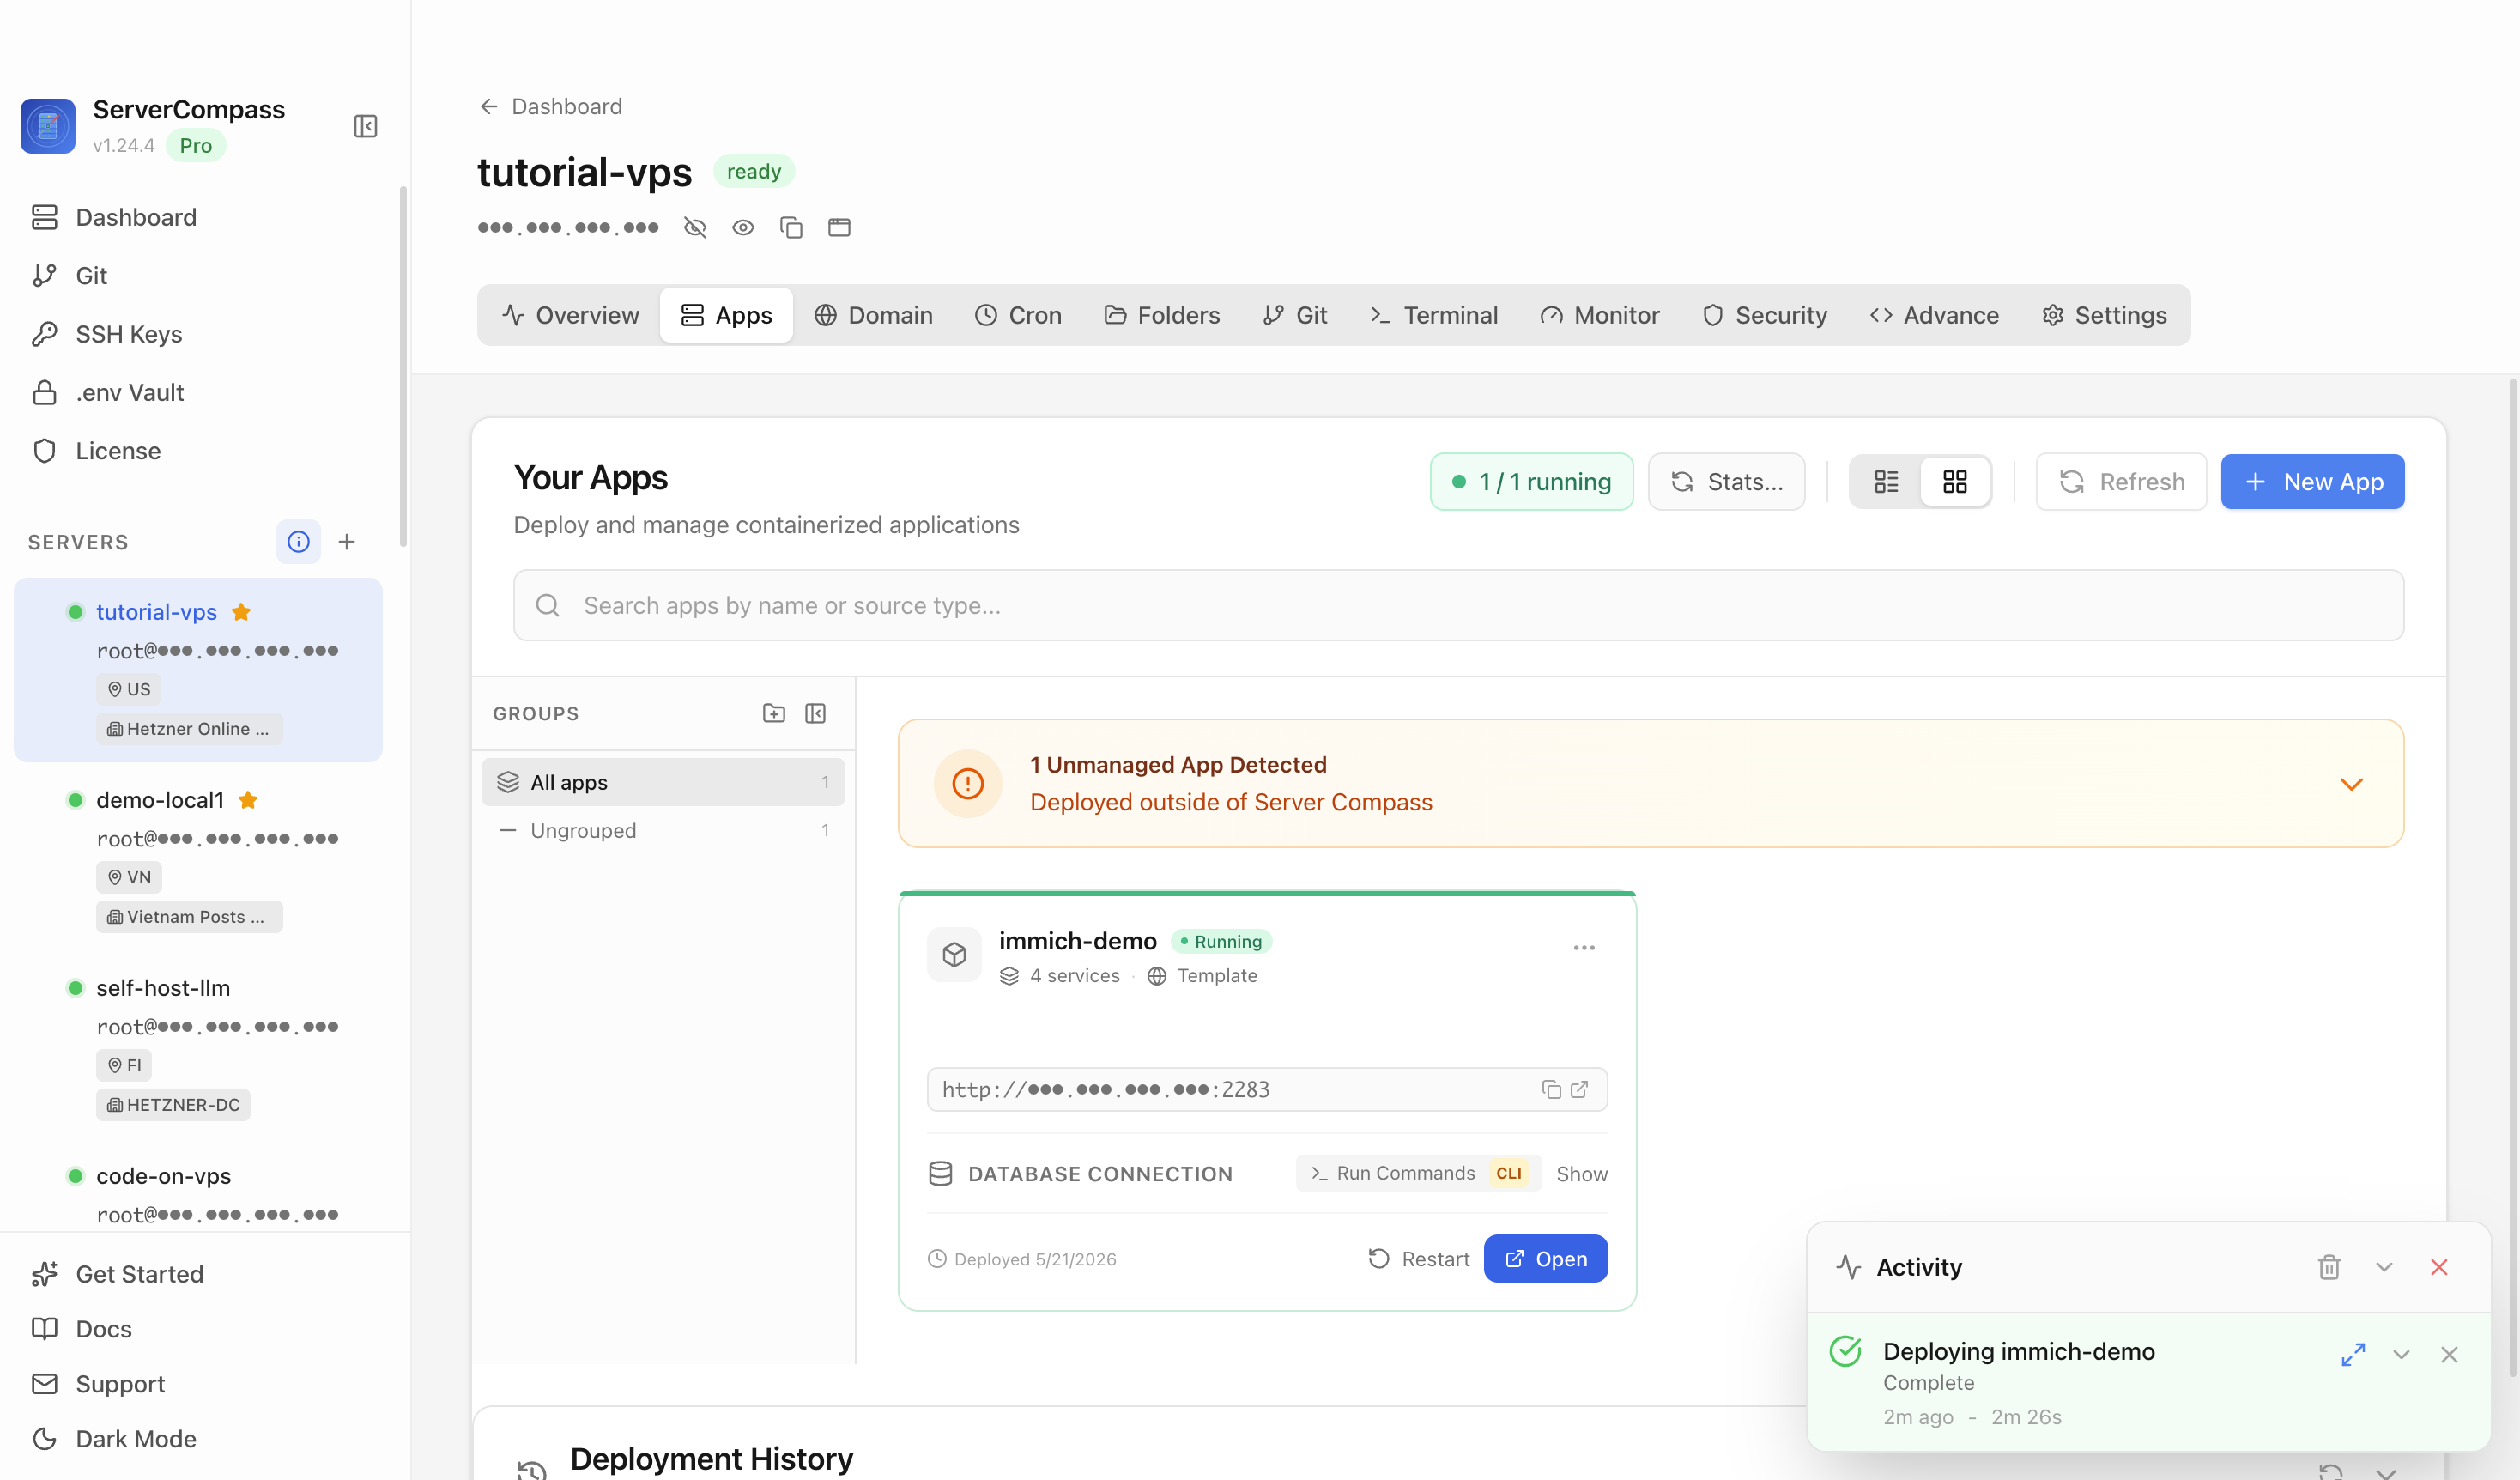
On Unraid, the CA Appdata Backup plugin does the stop → archive → start dance for you on a schedule. The point is the same: appdata is the part that does not regenerate. Bulk media can be re-ripped or re-downloaded; a corrupted Immich Postgres volume cannot. Treat a restore drill as part of the swap, not an afterthought — the homelab restore-drill guide walks through verifying the backup actually comes back with the right permissions.
Understand Your Array Before You Remove a Disk
This is where parity-based systems bite people. The rules differ by storage layer:
- Unraid array: removing a data disk invalidates parity unless you follow the "remove disk" procedure and run a New Config + parity rebuild. Pulling a disk and booting will show it as missing and start emulating it from parity — fine briefly, dangerous if a second disk hiccups during the rebuild. Never remove two disks at once.
- ZFS: replacement is a
zpool replacefollowed by a resilver. The pool stays degraded — and at reduced redundancy — until the resilver finishes. Do not pull a second disk mid-resilver. - mdadm / btrfs raid: similar story —
mdadm --fail/--remove/--add, then a rebuild window where you are exposed.
Check the current state is clean before you start. Swapping a disk while the array is already degraded is how single failures become data loss:
zpool status          # ZFS: want "state: ONLINE", no resilver in progress
cat /proc/mdstat      # mdadm: want [UU], not [U_]
Do the Swap With a Rollback Path
Keep the old disk intact and untouched until the new one is verified. That single habit turns "I think I lost the array" into "put the old disk back and try again." Concretely:
- Note the new disk's serial and target bay.
- Power down cleanly — never hot-pull an array disk unless the hardware and filesystem explicitly support it.
- Install the new disk; do not wipe or reuse the old one yet.
- Boot, then run the proper add/replace procedure for your array type.
- Let parity rebuild or the pool resilver fully complete before declaring victory.
Verify, Then Restore-Test
After the rebuild finishes, confirm the things that actually matter to you — not just that the box booted:
zpool status            # ONLINE, no errors, resilver done
docker compose ps       # every service Up
Open Jellyfin and Immich and confirm libraries, users, and metadata are present. Then prove the appdata backup you took at the start restores into a throwaway location. A backup you have never restored is a hypothesis, not a safety net.
A planned drive swap is genuinely low-risk once you have mapped boot media, appdata, and bulk data to physical devices, confirmed the array is clean, and kept the old disk as your undo button. The outage stories almost always trace back to skipping one of those four steps. If you want the broader "what to do when it has already gone wrong" version, pair this with the recovery playbook and the Unraid upgrade preflight.
From across the StoicSoft network
Hand-curated reads on the same topic from sister sites in the StoicSoft family.
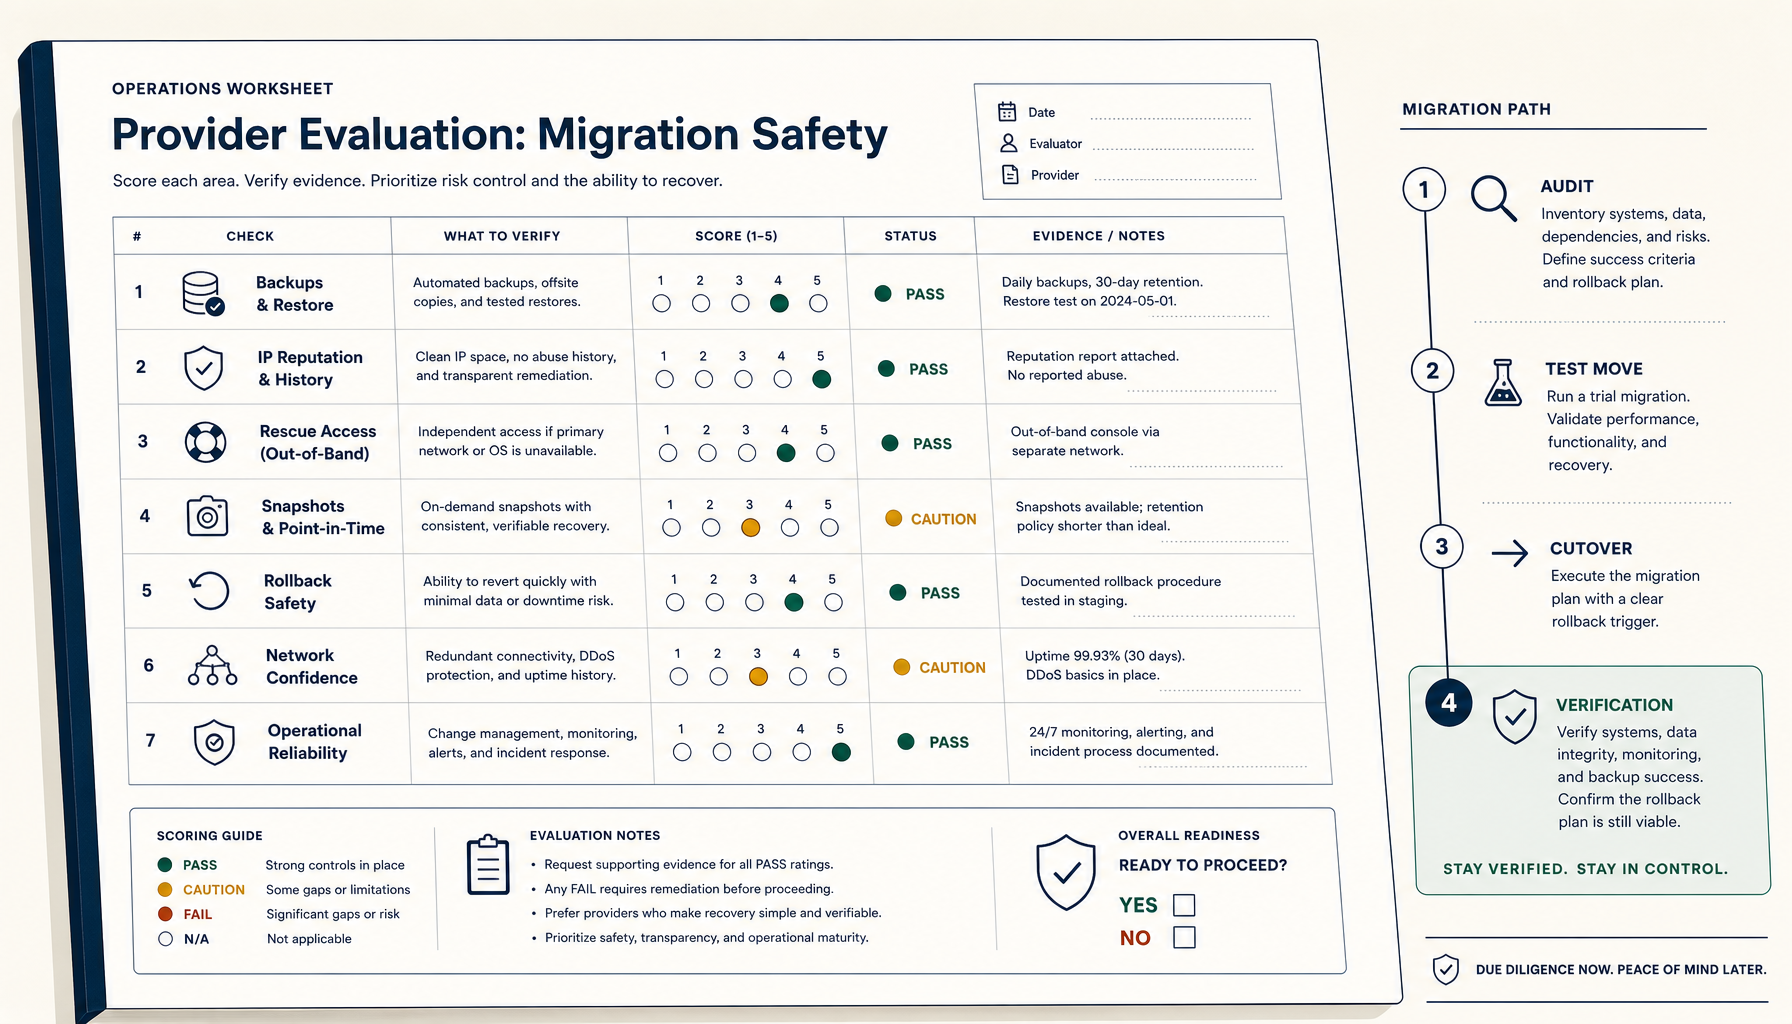 Deploy Handbook9 min read
How to Evaluate a VPS Provider for Migration Safety (Not Just Price)
Most VPS migration disasters trace to the workflow, not the destination. The seven verifications and four-phase migration playbook.
Read on stoicvps.com/handbook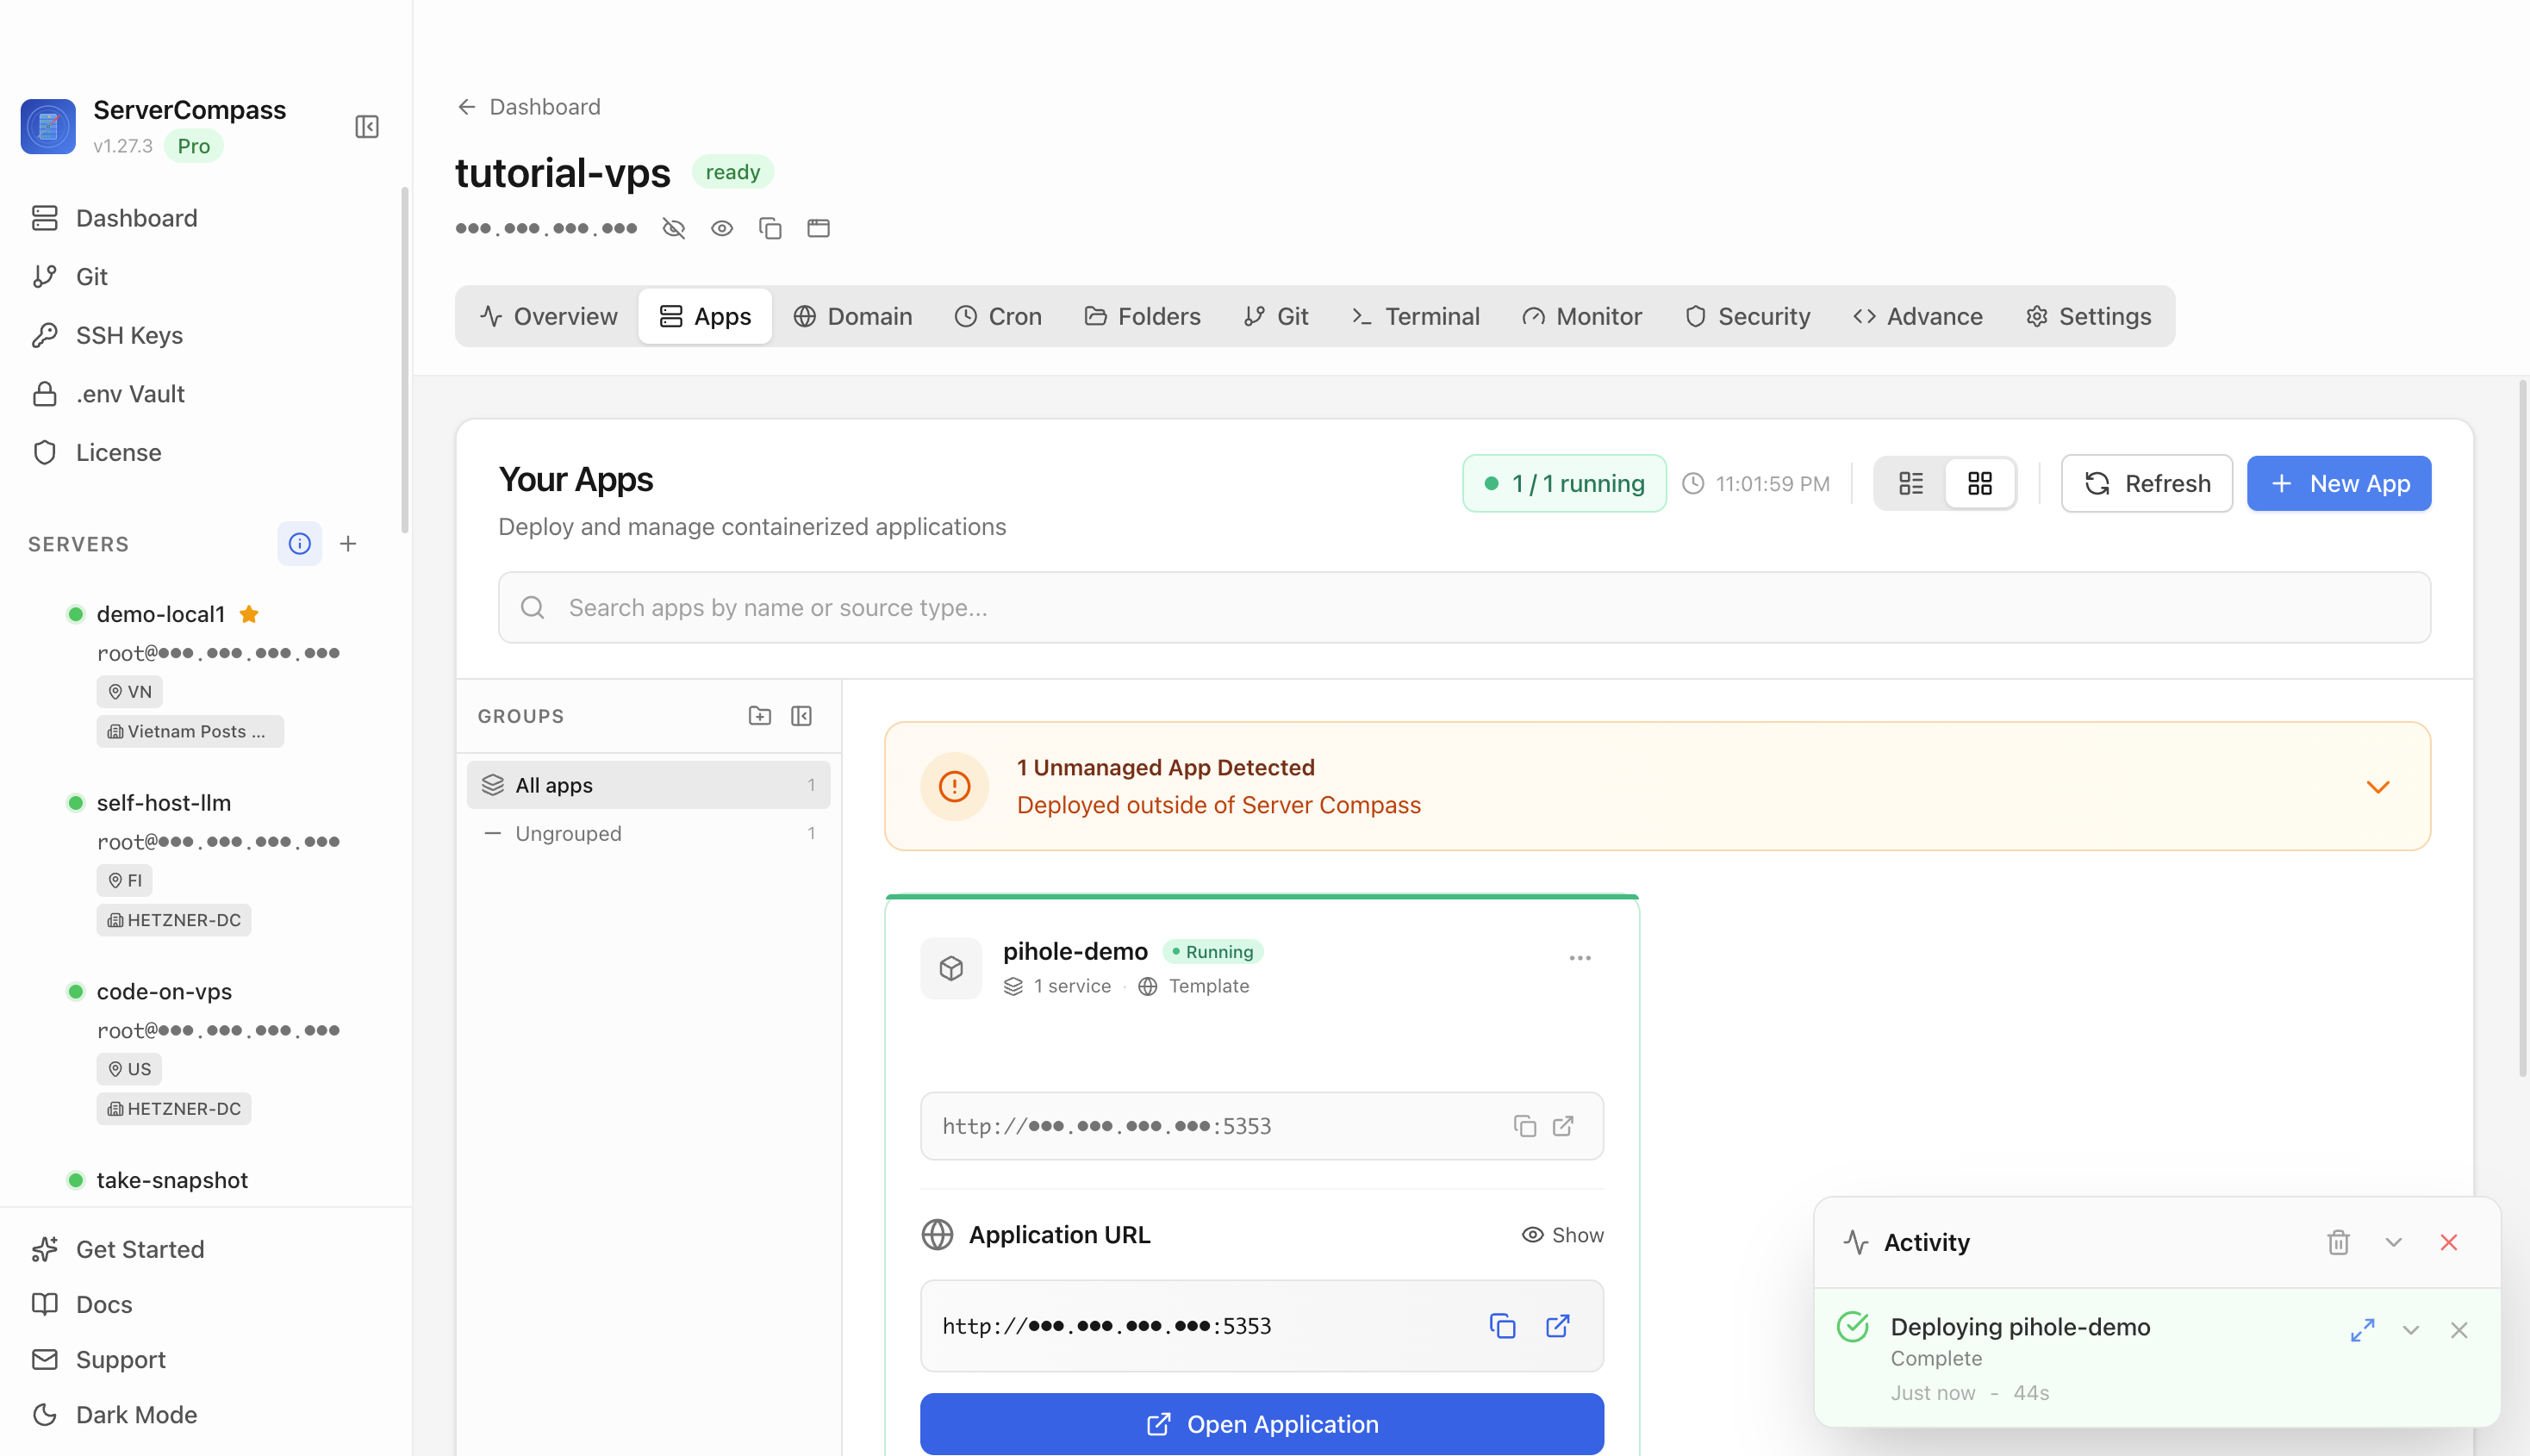 Deploy Handbook8 min read
Small self-hosters need a migration preflight before Vercel, colo, or VPS changes become scary
Fresh Reddit threads show two versions of the same deployment anxiety. A freelancer with a simple React/D3 portfolio and Vercel-managed domain wants to leave Vercel but is unsure how risky the provider and domain move will be. A self-hoster with a colocated…
Read on stoicvps.com/handbook