NAS rollouts need one plan for media, backups, and future self-hosted apps
Most beginner NAS builds start with one goal — media streaming or laptop backups — and end up patched together when the second and third use cases arrive. Getting the storage model right before you add drives saves you from rebuilding everything six months later.

Most beginner NAS builds start with one goal — media streaming or laptop backups — and end up patched together when the second and third use cases arrive. Getting the storage model right before you add drives saves you from rebuilding everything six months later.
The real scope of a home NAS
A pattern shows up repeatedly in self-hosted communities: someone posts asking for a future-proof NAS under a fixed budget, and the actual wish list turns out to be five or six things at once. They want the box to download media directly, stream to several users via Plex or Jellyfin, back up every laptop in the house, serve as family cloud storage (a Nextcloud replacement for Google Drive), and eventually host Bitwarden or a mail server. That is not a simple file server — that is a small homelab, and it needs to be planned as one.
The problem is not ambition. The problem is skipping the storage layout decision until after the hardware is already running. A Ugreen NAS owner with two raw HDDs and no backup configuration is a good example: new files copied to one drive stop appearing in Jellyfin because the library path points somewhere else, and there is no safety net if a drive fails. Raw drives with no RAID and no defined mount structure leave you in a fragile state the moment you start adding services.
Storage layout decisions you have to make before you add services
Before you configure a single container, settle three things:
1. RAID or not, and which level. RAID 1 (mirroring) protects against a single drive failure and is the minimum for any data you care about. RAID 5 or 6 gives you more usable space with parity protection across three or more drives. Neither RAID level is a backup — it only protects against hardware failure, not accidental deletion or ransomware. If you only have two drives right now, set them up as RAID 1 and plan to expand later rather than running them as independent volumes.
2. Separate volumes for separate concerns. Media libraries and backups have very different access patterns and different retention policies. Put them on separate logical volumes or at minimum separate top-level directories with clear ownership. When you add Nextcloud or Bitwarden later, they should not share a directory tree with your Jellyfin library. Mixing everything into one flat folder makes it hard to set permissions, quotas, or snapshot policies per workload.
3. Mount points that survive reboots. A recurring Jellyfin complaint is that a storage volume mounts at a different path after a reboot or NAS firmware update, and the library scan finds nothing. Use stable mount points — either fixed paths in /etc/fstab or named Docker volumes — and verify them after every system update. Do not rely on auto-mount paths that include device identifiers which can shift.
Backup tiers that actually work at home
The 3-2-1 rule (three copies, two media, one offsite) is the right target, but home setups usually get there in stages:
- Tier 1 — on-NAS snapshots. ZFS and Btrfs both support copy-on-write snapshots that let you roll back accidental deletions. If your NAS OS supports it, enable automated snapshots on your data volumes. This costs almost no extra space for incremental snapshots.
- Tier 2 — laptop backups to NAS. Time Machine (macOS) and Windows Backup work well with a dedicated NAS share. Keep this share separate from your media library so backup retention policies do not interfere with each other.
- Tier 3 — offsite. Rclone to Backblaze B2 or an encrypted rsync to a remote VPS covers the offsite requirement. Even a small cold copy of your most critical data (documents, photos, passwords) is better than nothing. Media files are usually the least critical to back up offsite since they can be re-downloaded.
Media library backup is a separate question. The media files themselves are often large and re-downloadable, so many people back up only the Jellyfin metadata and configuration rather than the full library. That is a reasonable call as long as you document it explicitly.
Sizing your NAS for future self-hosted apps
Jellyfin, Plex, and Nextcloud are storage-heavy. Bitwarden (Vaultwarden), a mail server, and similar apps are not — they need CPU and RAM more than raw disk space. This matters for hardware decisions.
If you are choosing between a dedicated NAS device and a mini-PC with attached drives, the NAS-plus-mini-PC split is worth considering for a homelab that plans to run non-media services. The NAS handles bulk storage and backup. The mini-PC runs containerized apps and mounts NAS shares over the network. This keeps the failure domains separate: a NAS firmware update does not take down your password manager, and vice versa.
For a single-box setup, make sure the CPU has enough headroom for hardware transcoding in Jellyfin (Intel Quick Sync or an NVIDIA GPU if you are transcoding for multiple users at once) while still running background processes for Nextcloud sync and backup jobs.
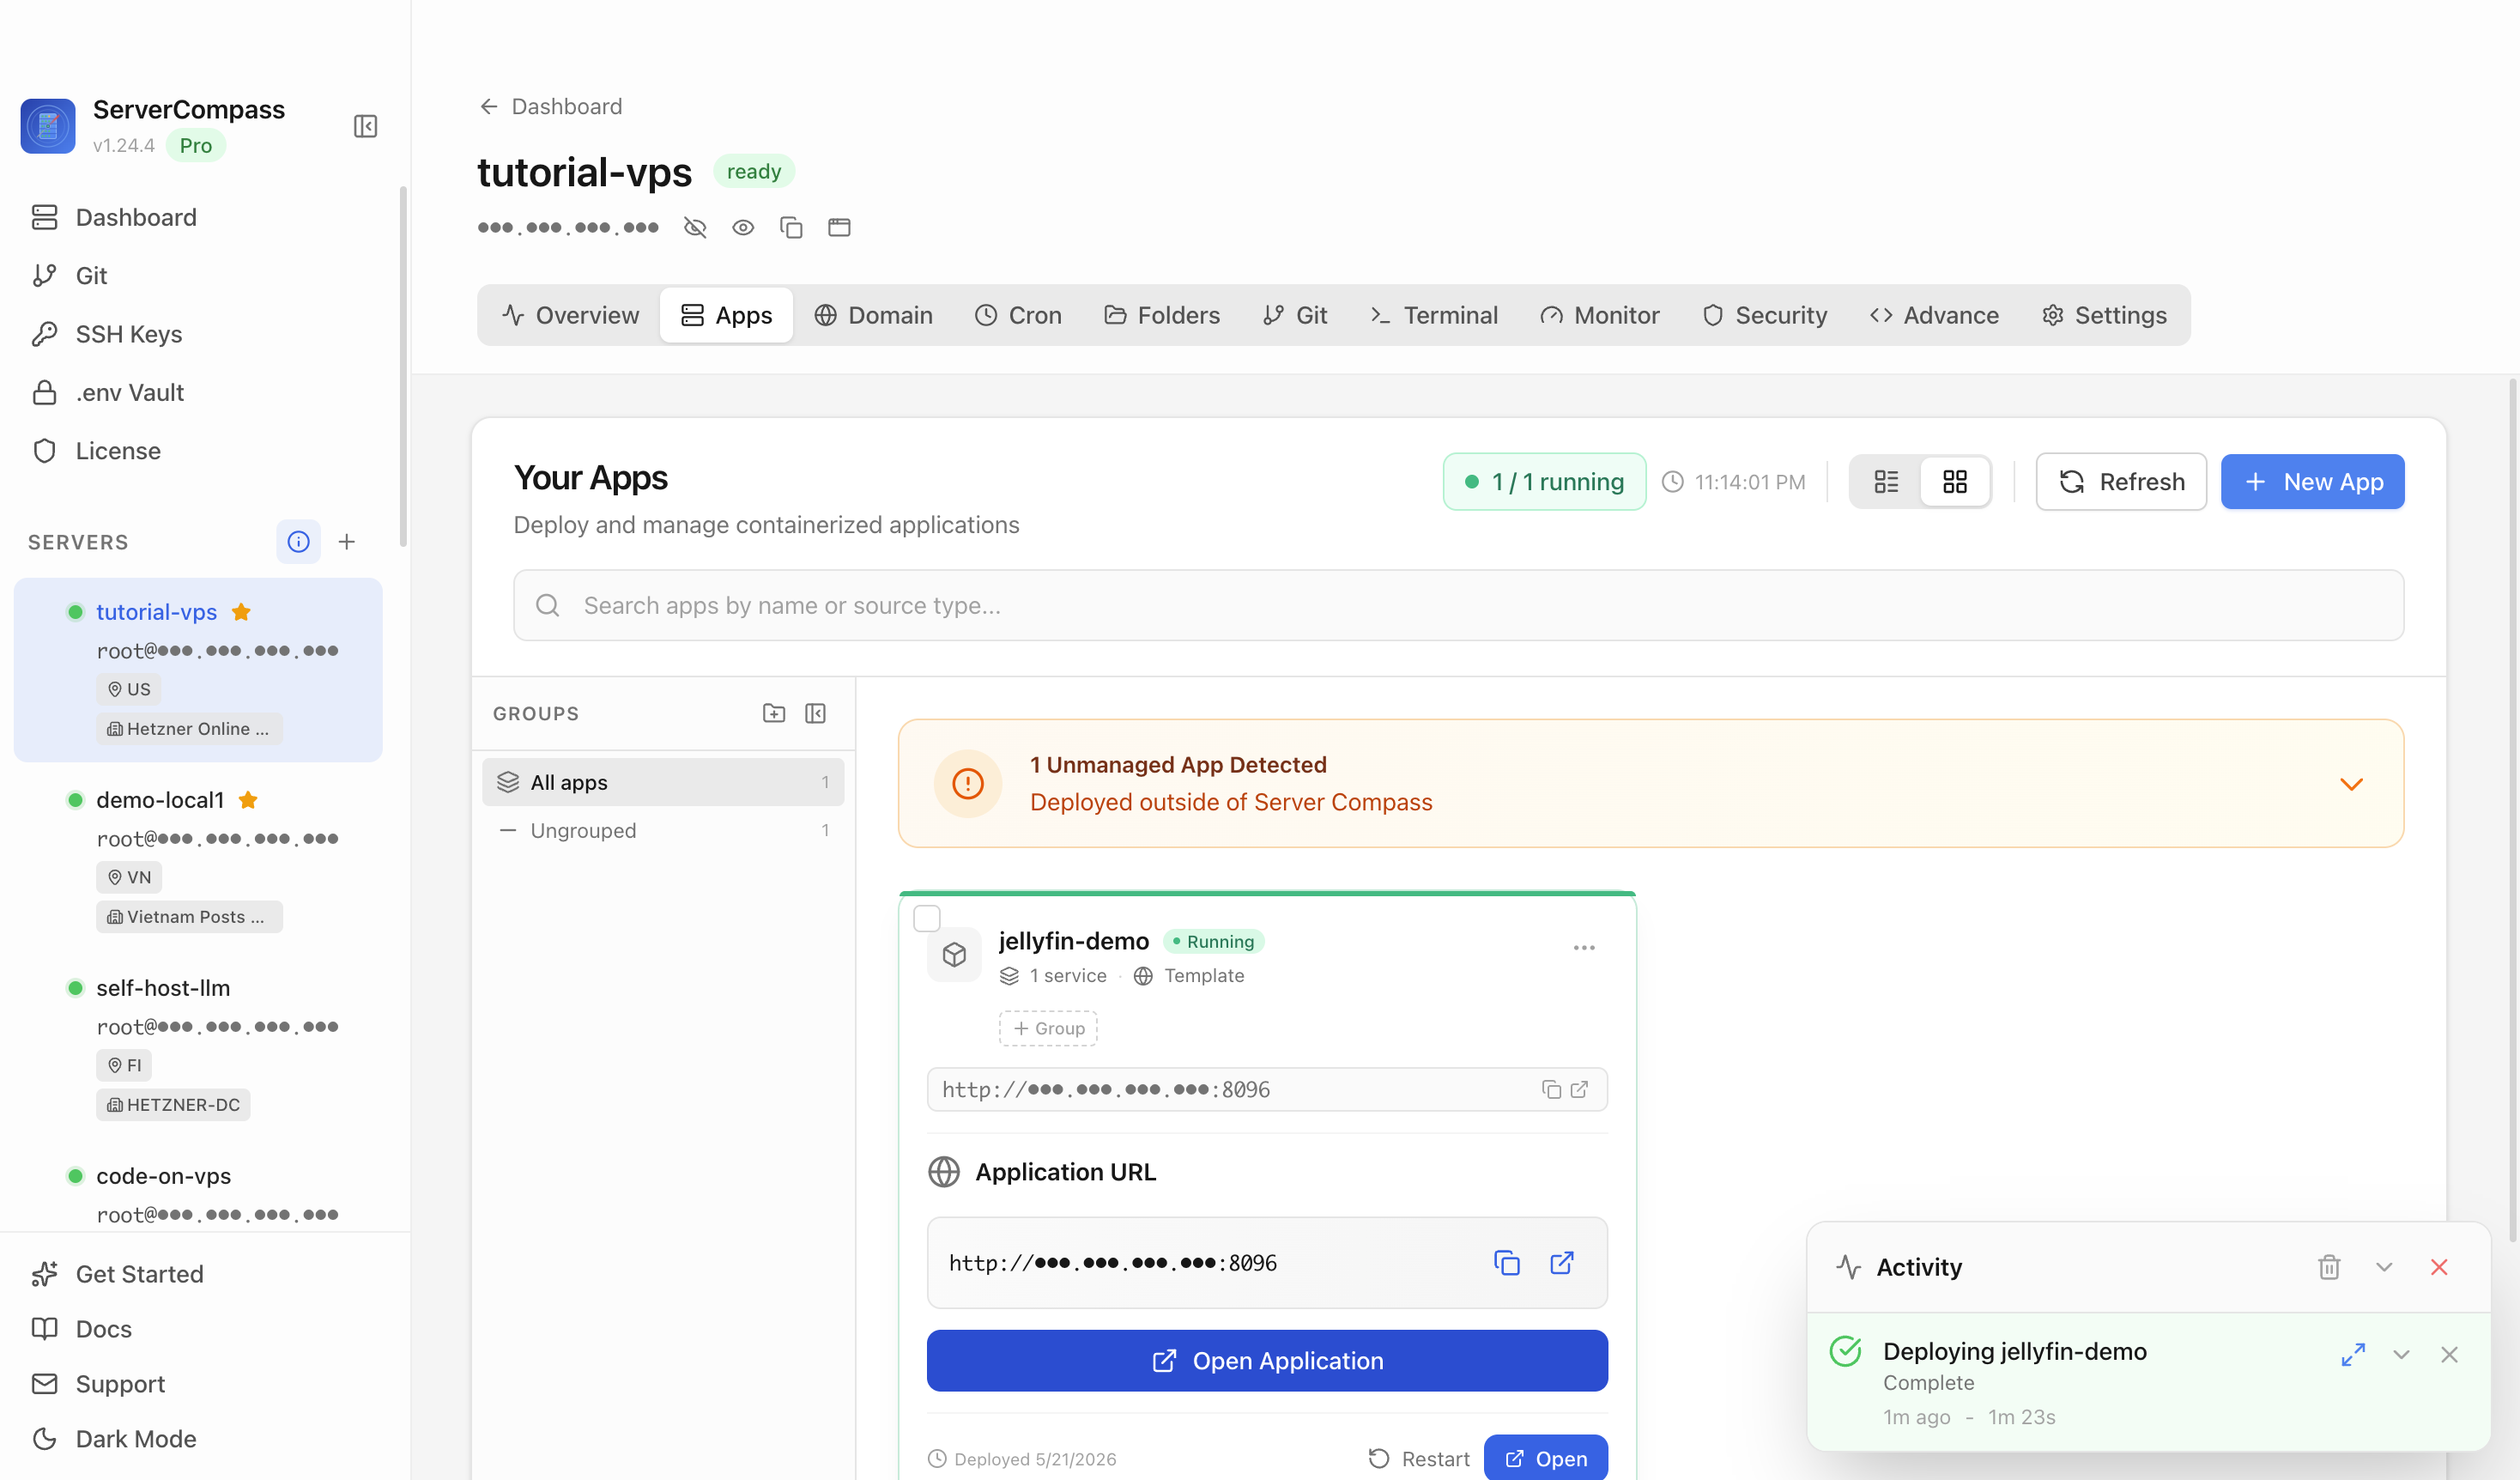
A tool like ServerCompass lets you see all your running services at a glance — CPU, memory, and disk usage per container — which makes it much easier to spot when a Jellyfin transcode job is starving your Nextcloud sync or when a backup task is saturating your drives.
Checklist
- Decide on RAID level before adding any drives; two drives minimum means RAID 1, not independent volumes
- Define separate mount points or Docker volumes for media, backups, and future apps — never mix them in one flat directory
- Verify that mount paths survive a reboot by testing after your first firmware or OS update
- Set up on-NAS snapshots (ZFS or Btrfs) as your first line of defense against accidental deletion
- Configure laptop backup shares separately from media shares with independent retention policies
- Plan an offsite backup for critical data (documents, photos, config files) even if you skip offsite for raw media
- If you plan to run non-storage apps (Bitwarden, mail, monitoring), consider whether a separate mini-PC or container host makes more sense than adding services directly to the NAS
- Use a dashboard like ServerCompass to monitor resource usage across services so you catch contention before it becomes an outage